Call Us: +91-7042640351, 9891868324
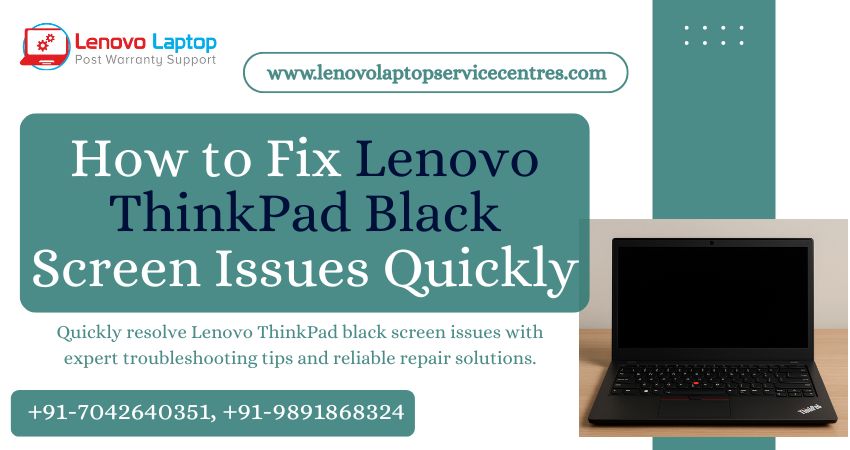
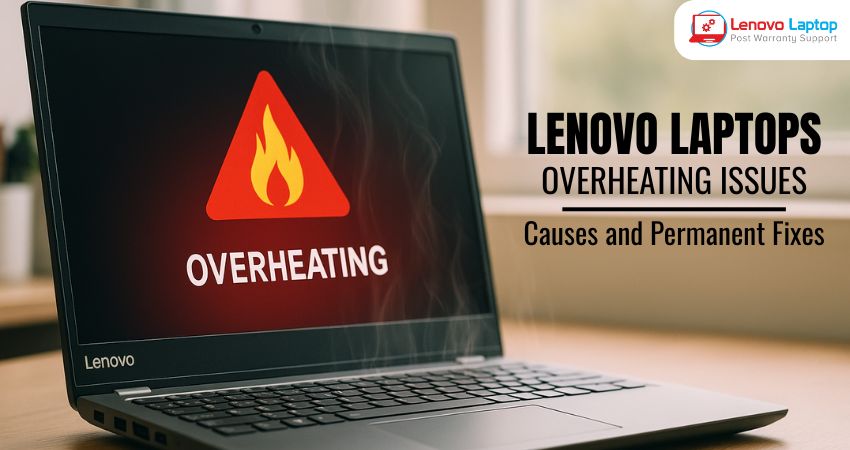
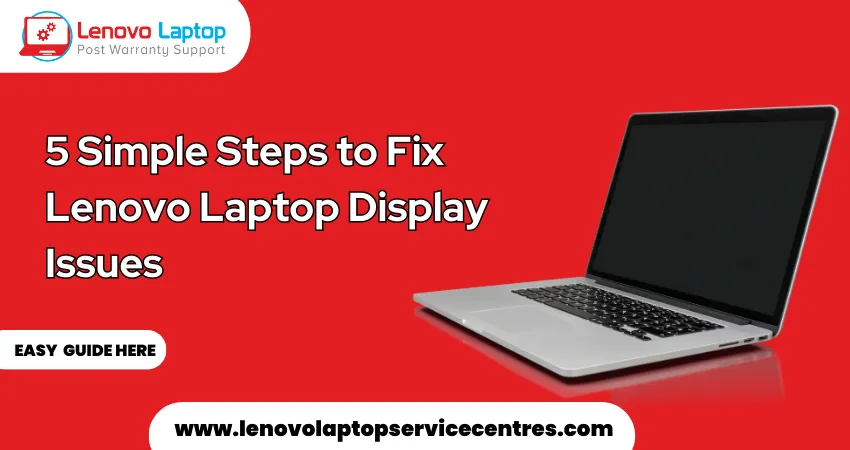
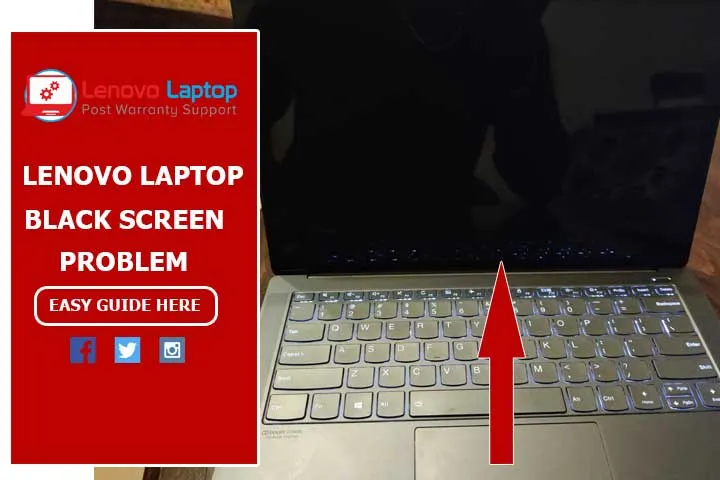
Lenovo Laptop Black Screen Issue on Windows 11
By Admin / 17 Apr 2024
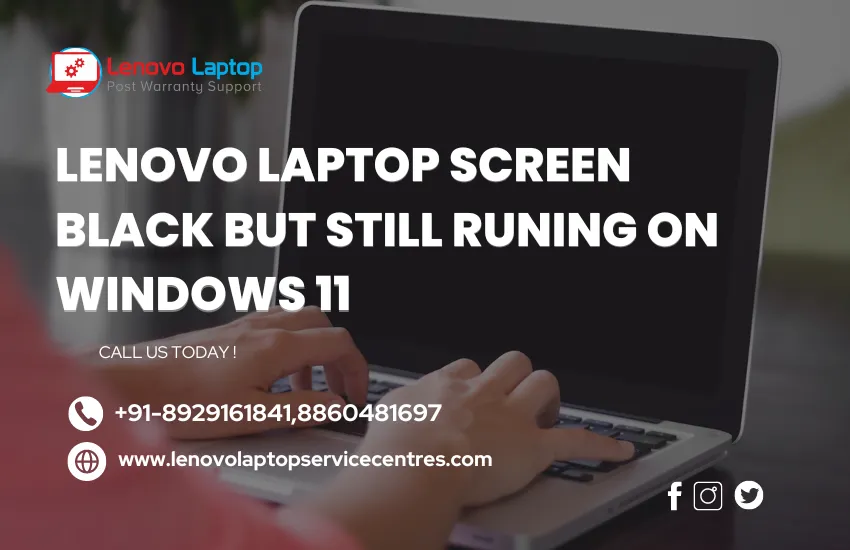
Are you facing the frustrating Lenovo laptop black screen issue on Windows 11? Don't worry; you're not alone. Many users encounter this problem, but fortunately, there are solutions available to troubleshoot and resolve this issue. In this guide, we'll delve deep into the causes of the Lenovo laptop black screen problem on Windows 11 and provide step-by-step instructions to help you fix it.
Understanding the Lenovo Laptop Black Screen Issue on Windows 11
Before we dive into the solutions, let's first understand what causes the Lenovo laptop black screen issue on Windows 11. This problem can occur due to various reasons, including hardware and software issues. Some common causes include outdated graphics drivers, incorrect display settings, faulty hardware components, or software conflicts.
Common Causes of Lenovo Laptop Black Screen Issue on Windows 11
1. Graphics Driver Problems: Outdated or incompatible graphics drivers can lead to display issues, including a black screen.
2. Windows Updates: Sometimes, a recent Windows update may conflict with your system's configuration, causing display problems.
3. Hardware Malfunction: Issues with the laptop's hardware components, such as the graphics card or display panel, can result in a black screen.
4. Power Settings: Incorrect power settings or power management features can cause the screen to go black while the laptop remains operational.
5. Software Conflicts: Certain software applications or settings may interfere with the display output, leading to a black screen.
Troubleshooting Steps to Fix Lenovo Laptop Black Screen Issue
Follow these detailed steps to troubleshoot and resolve the black screen issue on your Lenovo laptop running Windows 11:
Step 1: Check Power and Connections
Ensure that your laptop is receiving power and the battery is charged.
Connect your laptop to an external monitor or TV using an HDMI cable to check if the display appears on the external screen.
Check all cable connections, including the power adapter and any external display connections, for loose or damaged cables.
Step 2: Restart Your Laptop
Press and hold the power button on your laptop until it shuts down completely.
Wait for a few seconds, then press the power button again to restart the laptop.
Check if the screen displays generally after the restart.
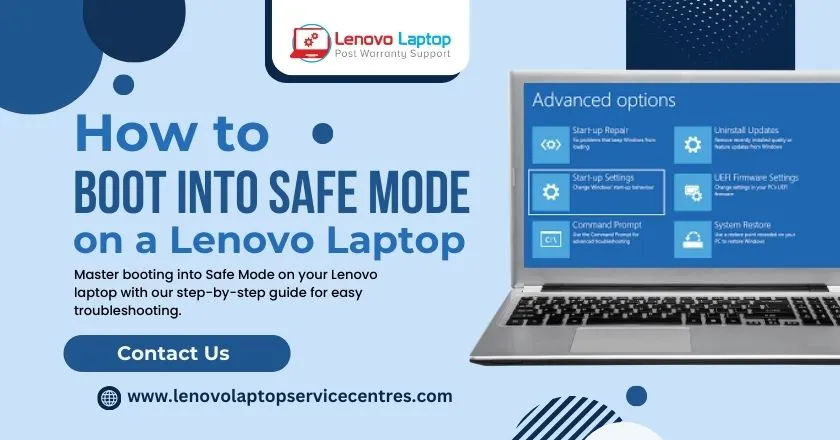
Step 3: Boot into Safe Mode
Restart your laptop and press the F8 key repeatedly during the boot process to access the Advanced Boot Options menu.
Select "Safe Mode" from the menu and press Enter.
Once in Safe Mode, check if the screen displays correctly. If it does, the Issue may be related to third-party software or drivers.
Step 4: Update Graphics Drivers
Right-click on the Start menu and select "Device Manager."
Expand the "Display adapters" category, right-click on your graphics card, and select "Update driver."
Choose the option to search automatically for updated driver software.
Follow the on-screen instructions to complete the driver update process.
Step 5: Run System File Checker (SFC) Scan
Open Command Prompt as an administrator by right-clicking on the Start menu and selecting "Command Prompt (Admin)."
Type the command "sfc /scannow" (without quotes) and press Enter to initiate the System File Checker scan.
Wait for the scan to complete and follow any on-screen instructions if prompted to repair system files.
Step 6: Check for Windows Updates
Open Settings by pressing the Windows + I keys, then navigate to "Update & Security."
Click on "Windows Update" and select "Check for updates."
Install any pending updates and restart your laptop if required.
Step 7: Disable Fast Startup
Open Control Panel and go to "Power Options."
Click on "Choose what the power buttons do" from the left sidebar.
Click on "Change settings that are currently unavailable."
Scroll down and uncheck the box next to "Turn on fast startup (recommended)."
Click "Save changes" to apply the settings.
Step 8: Reset Display Settings
Right-click on the desktop and select "Display settings."
Scroll down and click on "Advanced display settings."
Under "Display adapter properties," click on the "Monitor" tab.
Set the screen refresh rate to the recommended value and click "Apply."
Step 9: Perform a System Restore
Open Control Panel and search for "Recovery."
Click on "Open System Restore" and follow the on-screen instructions to restore your system to a previous point when the display was working correctly.
Step 10: Contact Lenovo Support
If you've exhausted all troubleshooting steps and the Issue persists, it's time to reach out to Lenovo's customer support:
Visit Lenovo's official support website and navigate to the support page for your specific laptop model.
Submit a support ticket or contact Lenovo's customer service via phone or live chat.
Provide detailed information about the Issue and steps you've already taken to troubleshoot.
Contact our Support through BS SYSTEM SOLUTIONS for expert assistance with your Lenovo laptop black screen issue on Windows 11. Call us at +91-8929161841 or +91-8860481697 for prompt solutions and reliable support.
Read more: Lenovo Laptop Function Keys Not Workiing on Windows 11 | Download Lenovo Vantage for Windows 11
Conclusion
Dealing with a Lenovo laptop black screen issue on Windows 11 can be frustrating, but with the right troubleshooting steps, you can resolve the problem and get your laptop back to normal functionality. Remember to check hardware connections, update drivers, adjust display settings, and run diagnostics to identify and fix the root cause of the issue. If all else fails, consider seeking professional assistance from Lenovo support or a qualified technician.
FAQs for Lenovo Laptop Black Screen Issue on Windows 11
Q: Why is my Lenovo laptop screen black on Windows 11?
A: The black screen issue on Lenovo laptops running Windows 11 can be caused by various factors such as outdated graphics drivers, hardware connectivity issues, or software conflicts.
Q: How can I fix the Lenovo laptop black screen problem on Windows 11?
A: You can try troubleshooting steps like updating graphics drivers, checking hardware connections, adjusting display settings, running diagnostics, or performing a system restore to resolve the black screen issue.
Q: Can a software update cause the Lenovo laptop black screen issue on Windows 11?
A: Yes, a recent software update or installation can sometimes lead to compatibility issues or conflicts that result in the black screen problem on Lenovo laptops running Windows 11.
Q: What should I do if my Lenovo laptop screen remains black even after startup?
A: If your Lenovo laptop screen stays black after startup, try booting into Safe Mode, updating Windows and drivers, checking for malware, or performing a system reset or reinstall as troubleshooting steps.
Q: Is there a chance that my Lenovo laptop's hardware is causing the black screen issue on Windows 11?
A: Yes, faulty hardware components such as a malfunctioning graphics card or display panel can also contribute to the black screen problem on Lenovo laptops running Windows 11. Running hardware diagnostics can help identify any hardware failures.
 Share
Share
 Tweet
Tweet
 Share
Share
 Share
Share
Recent Post
-
-

-
-

-

-

-

-
-
-
-
-
-

-

-

-

-
-

-

-

-

-

-

-

-

-

-

-
-

-
-

How to Save Money on Lenovo Laptop Repairs
13 Oct 2025
-

-

10 Common Issues Faced by Lenovo Laptop Users
04 Oct 2025
-
-
-

-

-
-

-
-

-
-
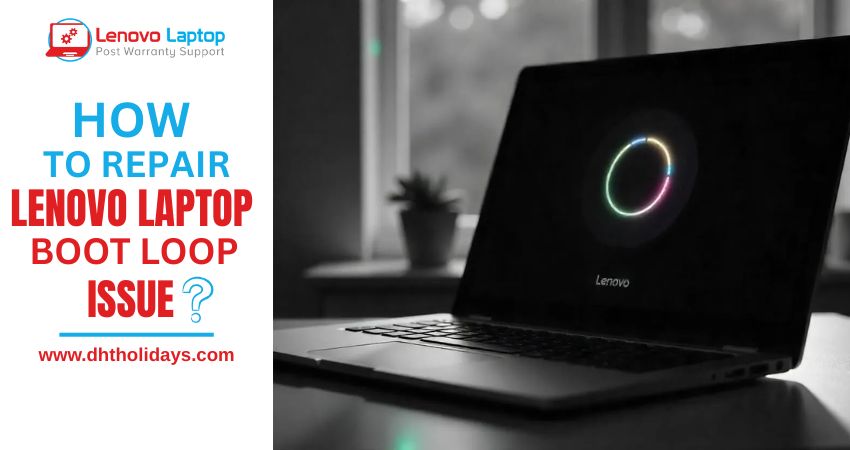
Lenovo Laptop Boot Loop Issue – How to Repair
12 Aug 2025
-

Lenovo Laptop Sound Not Working – Easy Fixes
07 Aug 2025
-
-
-
-
-
-
-
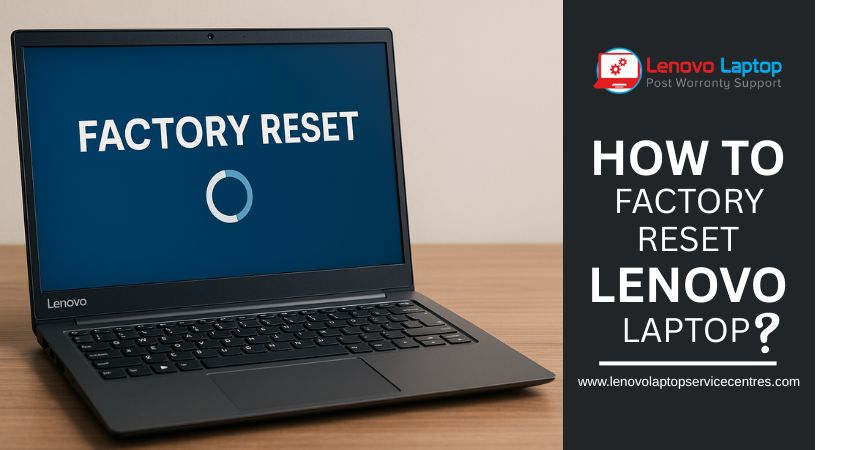
How to Factory Reset a Lenovo Laptop?
30 Jun 2025
-
-

-

-

-

-

-

-

Cannot Load Driver ENE.SYS? Try These 6 Fixes!
12 Dec 2024
-

-

-

-

-

-
-

-

-
-
-

-

-

-

-

How to Solve Lenovo Laptop Hanging Problem
26 Oct 2024
-

-

-

How to Restart Lenovo Laptop with Black Screen
22 Oct 2024
-

-

-
-

-
-
-

-

Lenovo Laptop Power Button on but no Display
02 Sep 2024
-

How to Fix Wi-Fi Not Showing on Windows 10/11
30 Aug 2024
-
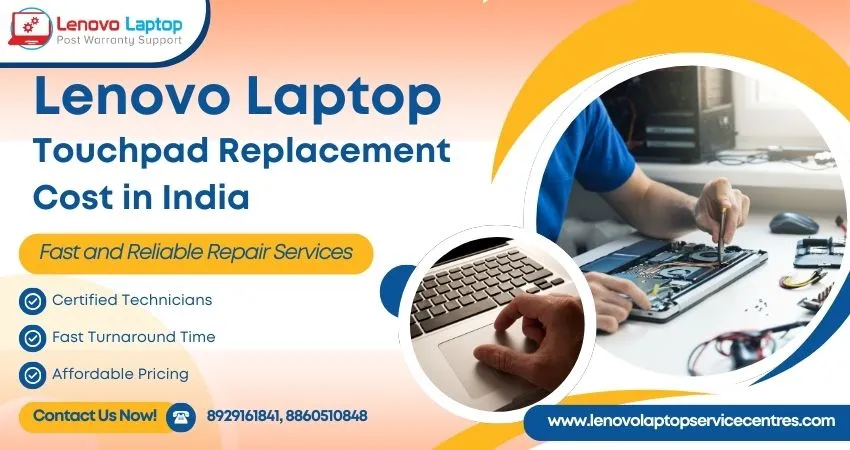
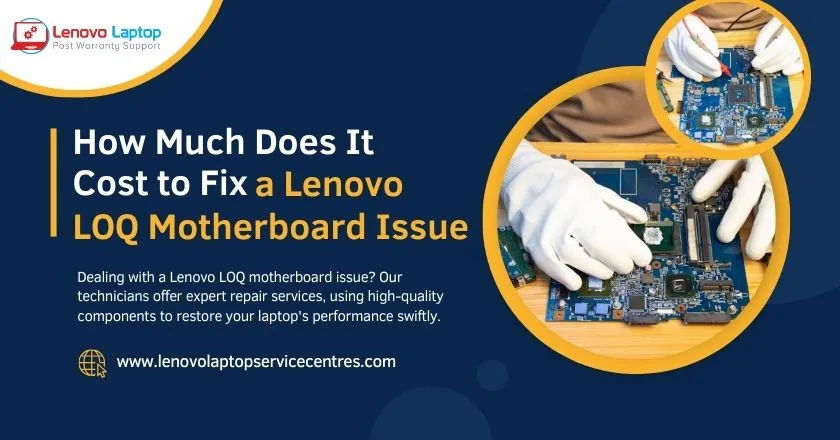
Lenovo Laptop Touchpad Replacement Cost in India
28 Aug 2024
-

-
-

How to Unlock a Locked Lenovo Laptop Keyboard
12 Aug 2024
-

-
How to Boot Into Safe Mode On a Lenovo Laptop
31 Jul 2024
-

-
-

-

-

How to Check Lenovo Laptop Fan is Working or Not
09 Jul 2024
-

How to Fix Bluetooth Problem in Lenovo Laptop
05 Jul 2024
-

-
How to Install OS (Operating System) on Laptop
27 Jun 2024
-
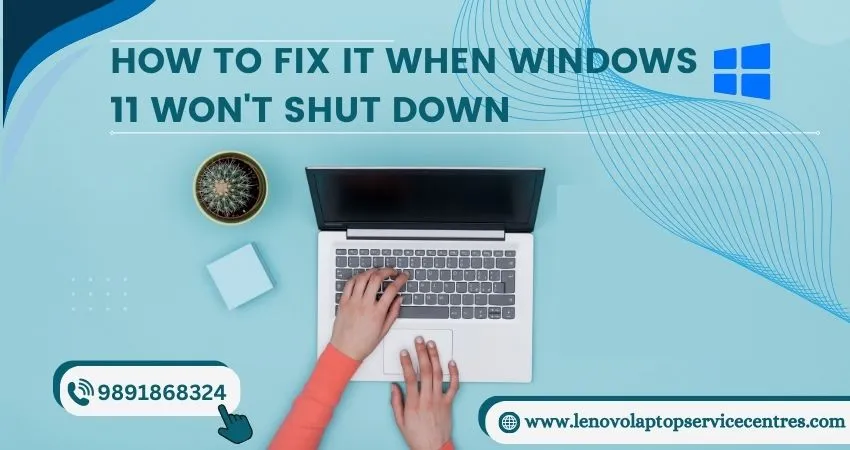
How to Fix It When Windows 11 Won't Shut Down
21 Jun 2024
-
-
-
-

Lenovo E-41 25 Panel Replacement Cost in India
31 May 2024
-

How to Fix Stuck Keys on Lenovo Laptop Keyboard
30 May 2024
-

-

-
-
-

-
-
Lenovo Laptop Black Screen Issue on Windows 11
17 Apr 2024
-
-
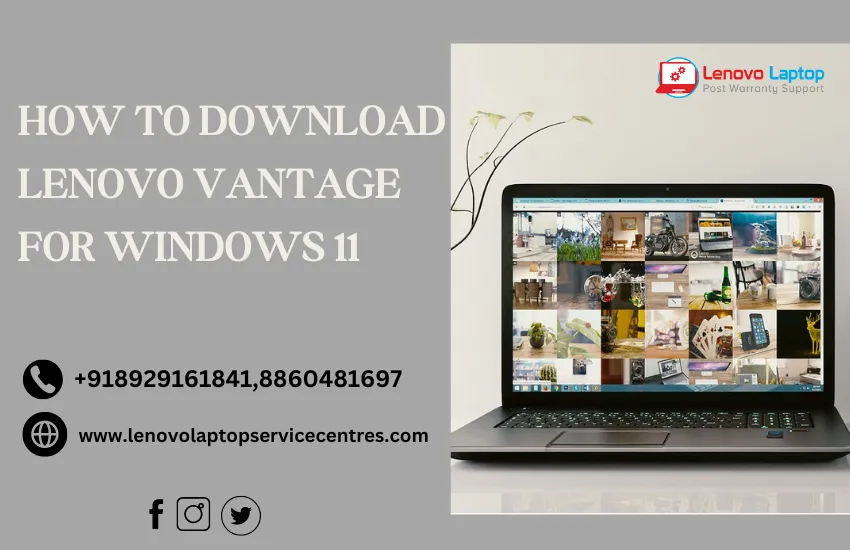
How to Download Lenovo Vantage for Windows 11
15 Apr 2024
-
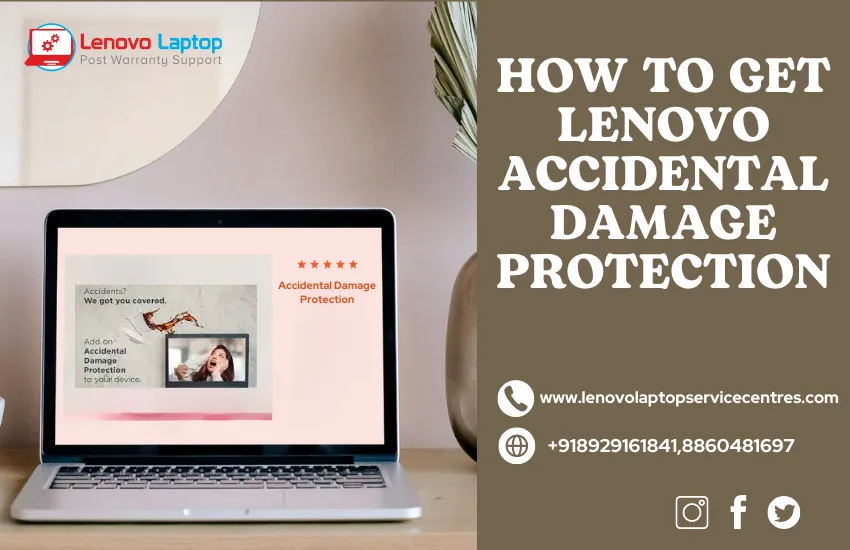
How to Get Lenovo Accidental Damage Protection
11 Apr 2024
-
-

-
-
Lenovo System Update Download For Windows 11
06 Apr 2024
-
-
-

-
Lenovo Laptop Security Issues in windows 11
04 Apr 2024
-
-

How to Check Battery Health in Lenovo Laptop
30 Mar 2024
-
-
-
-

-

-

-
-

How to Run Hardware Diagnostics on Lenovo Laptop
20 Dec 2023
-
How to find model number of lenovo laptop
18 Dec 2023
-
-
-

-
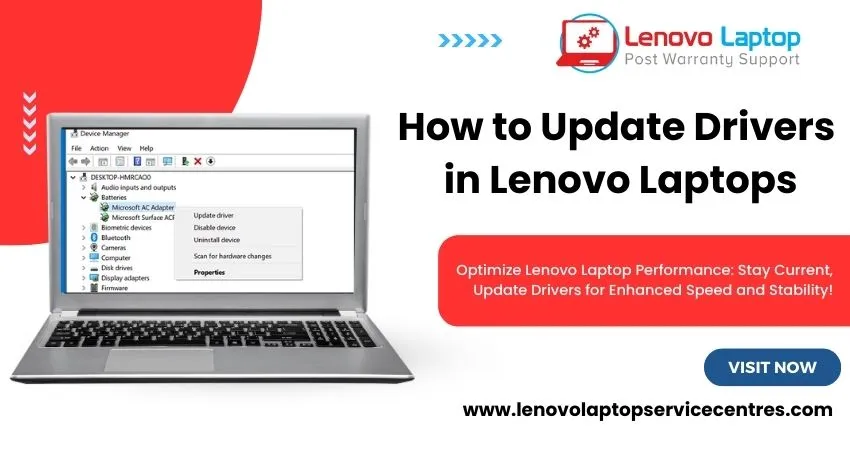
How to Update Drivers in Lenovo Laptops
02 Dec 2023
-

Why is my lenovo laptop making a buzzing noise
28 Nov 2023
-

-
-

-
-

Best Guide: Resolve Lenovo Laptop Touchpad Issue
11 Oct 2023
-
How to Troubleshoot Lenovo Laptop Battery Issues
16 Aug 2023
-
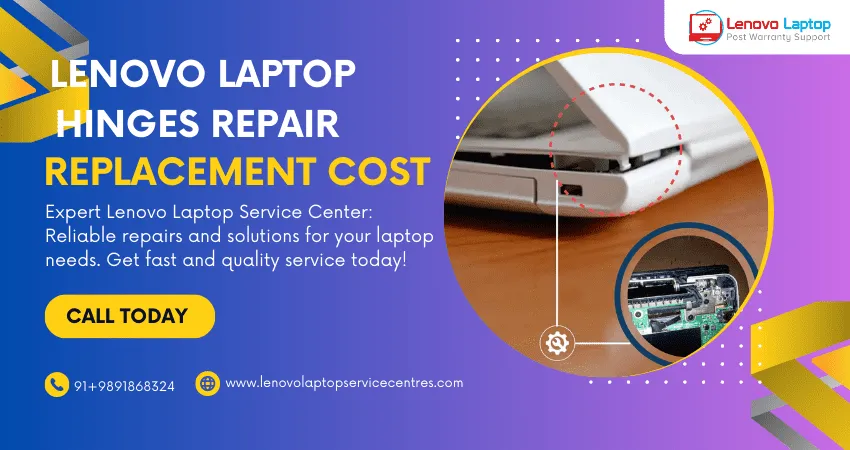
Lenovo Laptop Hinges Repair or Replacement Cost
09 Aug 2023
-
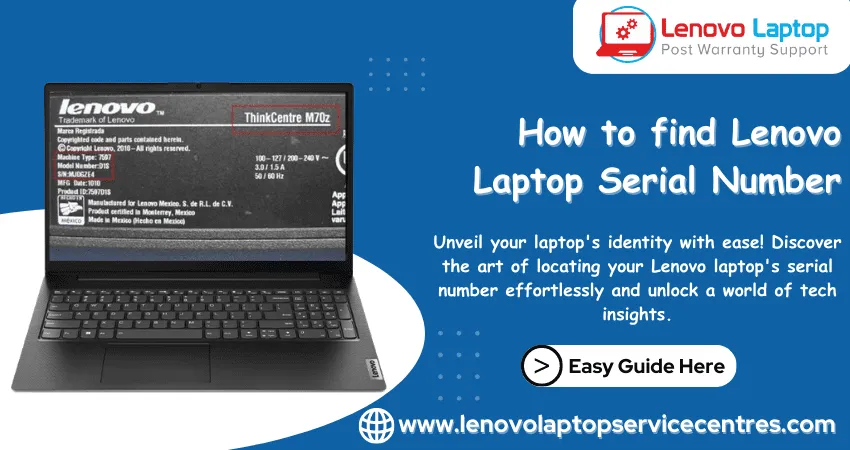
How to Find Lenovo Laptop Serial Number
08 Aug 2023
-
-

Lenovo Laptop SSD Upgradation Cost
18 Jul 2023
-

Lenovo Laptop Camera Replacement Cost
18 Jul 2023
-
-
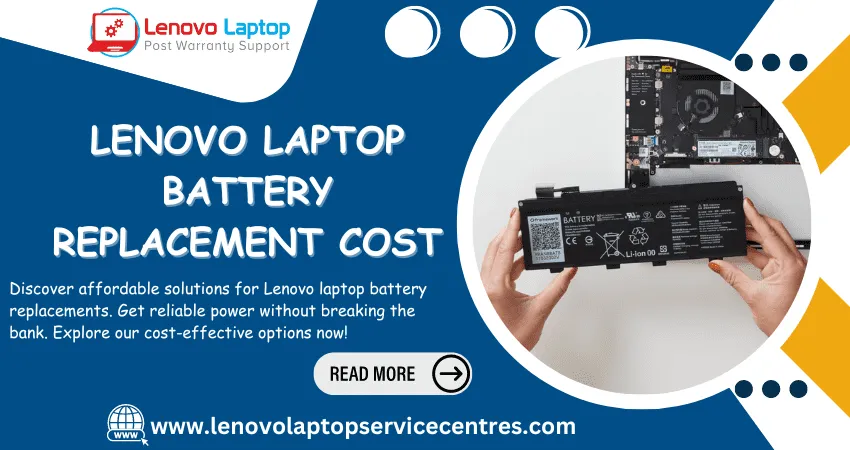
Lenovo Laptop Battery Replacement Cost
13 Jul 2023
-
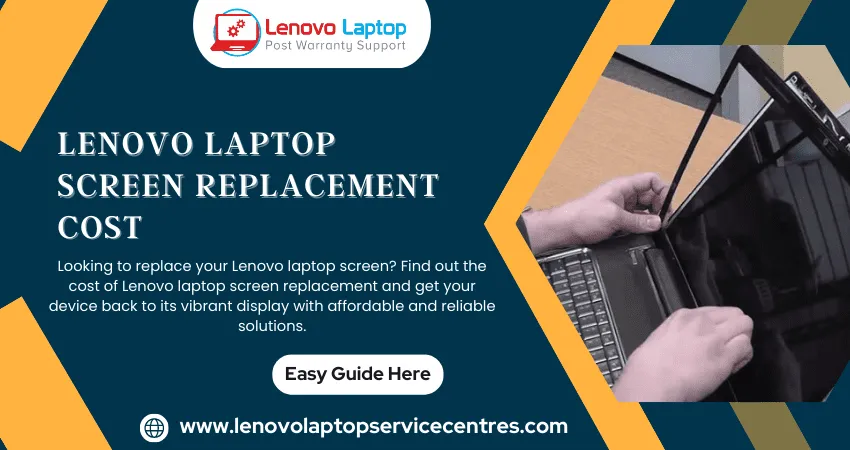
Lenovo Laptop Screen Replacement Cost
12 Jul 2023
-
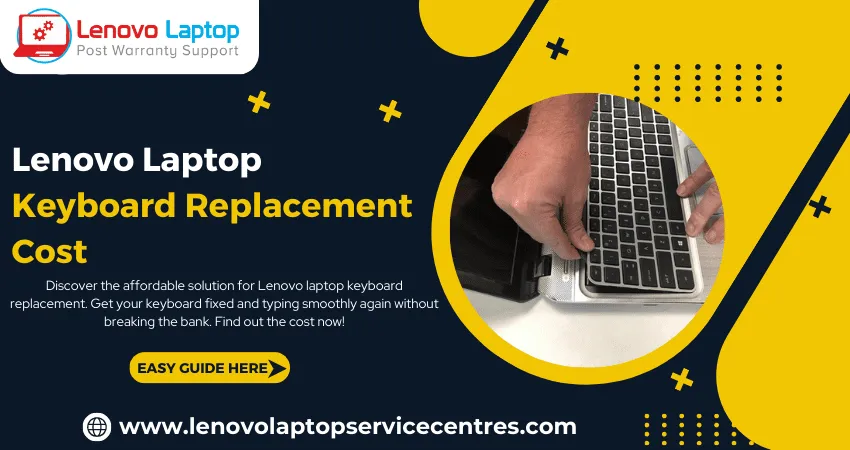
Lenovo Laptop Keyboard Replacement Cost
12 Jul 2023
-

-
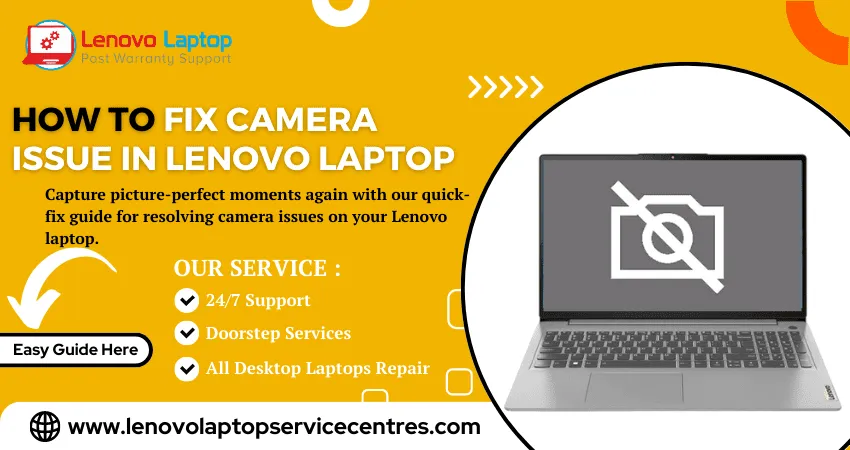
How to Fix Camera Issue in Lenovo Laptop
07 Jul 2023
-

How to Format Lenovo Laptop with USB
06 Jul 2023
-
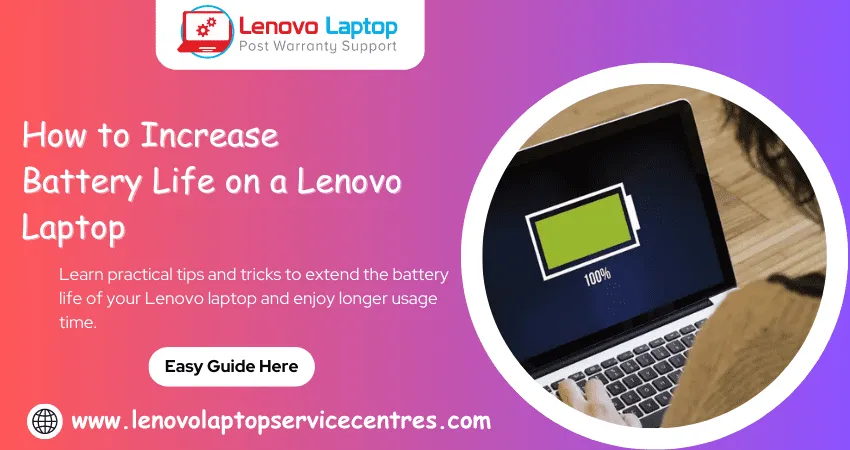
How to Increase Battery Life on a Lenovo Laptop
21 Jun 2023
-

How to Fix White Screen on Lenovo Laptop
20 Jun 2023
-
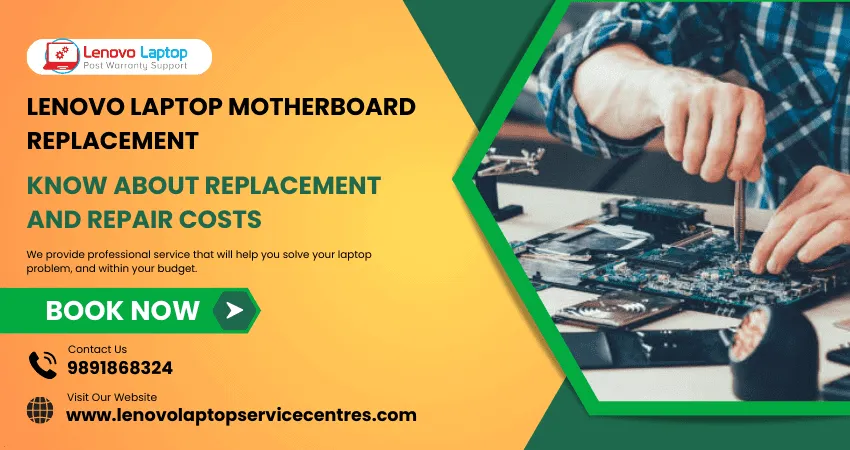
Lenovo Laptop Motherboard Replacement Cost
19 Jun 2023
-
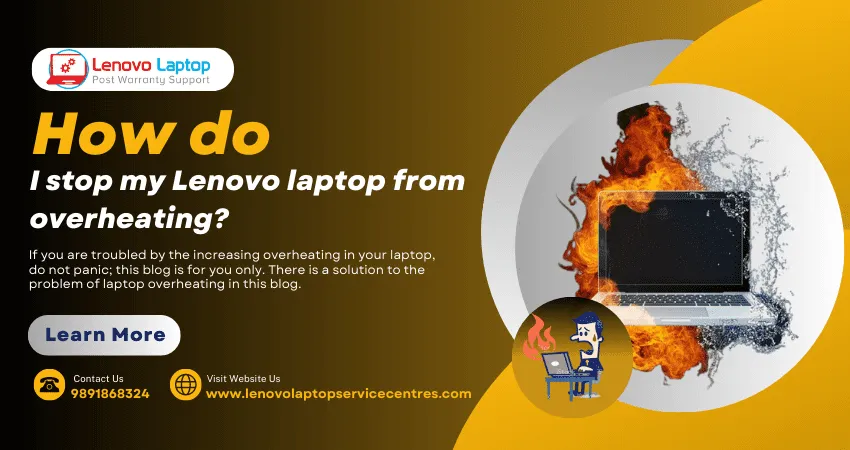
How do I stop my Lenovo laptop from overheating?
16 Jun 2023
-
-

-
-

-

-
-
-
-
-
-

-

-

-
-
-
-
What is Cost of Lenovo Laptop in India?
22 Sep 2022
-
Lenovo Laptop Problems Black Screen
21 Sep 2022
Looking For A Fast & Reliable Laptop Repair Service
We have professional technicians, fast turnaround times and affordable rates. Book Your Repair Job Today!
We specialize in all types of laptop services and provide reliable and quality door step service to our clients