Call Us: +91-7042640351, 9891868324
How to Fix Camera Issue in Lenovo Laptop
By Admin / 07 Jul 2023

In this modern era, a built-in camera on our laptops has become an essential tool for video conferences, online meetings, and capturing memories. However, it can be frustrating when your Lenovo laptop's camera malfunctions or fails to work. Fear not! In this guide, we will walk you through troubleshooting and fixing camera issues in your Lenovo laptop. Whether it's a software glitch or a hardware problem, we've got you covered.
Basic Troubleshooting Steps:
1. Check camera settings: Ensure that the camera is enabled in the settings menu of your Lenovo laptop. Go to the Device Manager and make sure the camera is not disabled.
2. Restart your laptop: A simple restart can sometimes resolve software conflicts or temporary glitches.
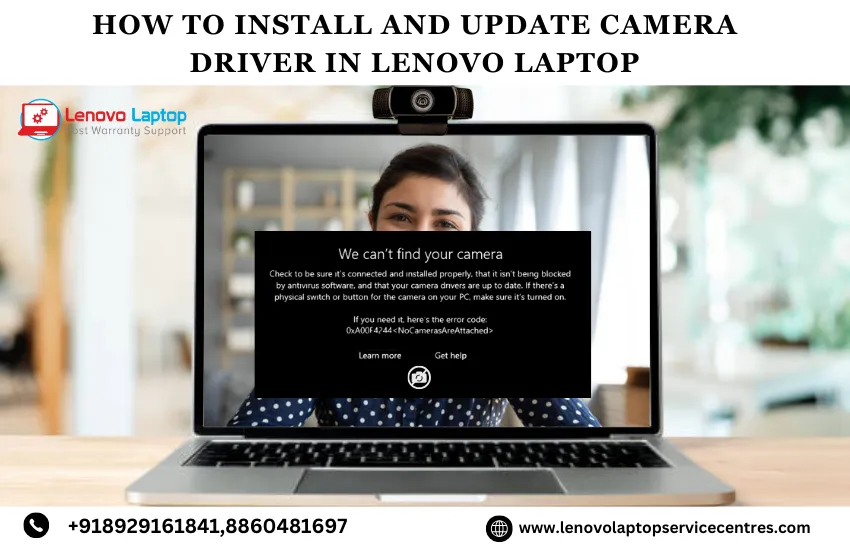
3. Update camera drivers: Outdated drivers can cause compatibility issues. Visit Lenovo's official website or use a driver update utility to download and install the latest camera drivers for your laptop model.
4. Scan for malware: Malicious software can interfere with the camera's functionality. Run a thorough antivirus scan to eliminate any potential threats.
Advanced Troubleshooting Steps:
1. Check camera permissions: Ensure that the camera is allowed to access applications and websites. In the privacy settings, grant camera permissions to the necessary applications.
2. Update operating system: An outdated system may have camera compatibility issues. Check for system updates and install the latest version.
3. Uninstall conflicting applications: Certain applications can conflict with the camera functionality. Uninstall any recently installed apps causing conflicts, and check if the camera starts working.
4. Use the Camera app: Open the Camera app (pre-installed on Windows) or a third-party camera app to check if the issue persists. If the camera works in the app, it suggests a problem with specific applications.
Hardware-related Solutions:
1. Physical inspection: Ensure no physical obstructions cover the camera lens. Dust or debris can affect the camera's performance; gently clean the lens using a soft, lint-free cloth.
2. Check camera connections: In case of a detached or loose camera cable, consider opening your laptop and reconnecting the camera module. Seek professional assistance if you're not comfortable with hardware repairs.
Additional Tips and Resources:
1. Utilize the Lenovo Support website: Visit Lenovo's official support website for troubleshooting guides, FAQs, and driver downloads tailored explicitly to your laptop model.
2. Contact customer support: If all else fails, contact Lenovo's customer support for personalized assistance and guidance.
Read More - How to Check Lenovo Warranty on Your Laptop in 3 Easy Steps
Conclusion:
Experiencing camera issues on your Lenovo laptop can be frustrating. Still, with the proper troubleshooting steps, you can resolve the problem, capture memories, and participate in video conferences. Start with the basic troubleshooting steps, progress to more advanced solutions if needed, and consider hardware-related solutions as a last resort. Remember to stay patient and consult official resources provided by Lenovo for additional support. Enjoy a seamless camera experience on your Lenovo laptop once again!
 Share
Share
 Tweet
Tweet
 Share
Share
 Share
Share
Recent Post
-
-

-
-

-

-

-

-

-
-
-
-

-

-

-

-

-

-

-

-

-

-

-

-

-

-

-

-
-

-
-

How to Save Money on Lenovo Laptop Repairs
13 Oct 2025
-

-

10 Common Issues Faced by Lenovo Laptop Users
04 Oct 2025
-
-
-

-

-
-

-

-

-

-
Lenovo Laptop Boot Loop Issue – How to Repair
12 Aug 2025
-

Lenovo Laptop Sound Not Working – Easy Fixes
07 Aug 2025
-
-
-
-
-

-

-

How to Factory Reset a Lenovo Laptop?
30 Jun 2025
-
-

-

-

-

-

-

-

Cannot Load Driver ENE.SYS? Try These 6 Fixes!
12 Dec 2024
-

-

-

-

-

-

-

-

-
-
-

-

-

-

-

How to Solve Lenovo Laptop Hanging Problem
26 Oct 2024
-

-

-

How to Restart Lenovo Laptop with Black Screen
22 Oct 2024
-

-

-
-

-

-
-

-

Lenovo Laptop Power Button on but no Display
02 Sep 2024
-

How to Fix Wi-Fi Not Showing on Windows 10/11
30 Aug 2024
-
Lenovo Laptop Touchpad Replacement Cost in India
28 Aug 2024
-

-
-

How to Unlock a Locked Lenovo Laptop Keyboard
12 Aug 2024
-

-
How to Boot Into Safe Mode On a Lenovo Laptop
31 Jul 2024
-

-

-

-

-

How to Check Lenovo Laptop Fan is Working or Not
09 Jul 2024
-

How to Fix Bluetooth Problem in Lenovo Laptop
05 Jul 2024
-

-
How to Install OS (Operating System) on Laptop
27 Jun 2024
-
How to Fix It When Windows 11 Won't Shut Down
21 Jun 2024
-
-

-

-

Lenovo E-41 25 Panel Replacement Cost in India
31 May 2024
-

How to Fix Stuck Keys on Lenovo Laptop Keyboard
30 May 2024
-

-

-

-

-

-
-
Lenovo Laptop Black Screen Issue on Windows 11
17 Apr 2024
-
-

How to Download Lenovo Vantage for Windows 11
15 Apr 2024
-
How to Get Lenovo Accidental Damage Protection
11 Apr 2024
-
-

-
-
Lenovo System Update Download For Windows 11
06 Apr 2024
-
-
-

-
Lenovo Laptop Security Issues in windows 11
04 Apr 2024
-
-

How to Check Battery Health in Lenovo Laptop
30 Mar 2024
-

-
-
-

-
-

-

-

How to Run Hardware Diagnostics on Lenovo Laptop
20 Dec 2023
-
How to find model number of lenovo laptop
18 Dec 2023
-
-
-

-
How to Update Drivers in Lenovo Laptops
02 Dec 2023
-

Why is my lenovo laptop making a buzzing noise
28 Nov 2023
-

-

-

-
-

Best Guide: Resolve Lenovo Laptop Touchpad Issue
11 Oct 2023
-
How to Troubleshoot Lenovo Laptop Battery Issues
16 Aug 2023
-

Lenovo Laptop Hinges Repair or Replacement Cost
09 Aug 2023
-

How to Find Lenovo Laptop Serial Number
08 Aug 2023
-

-

Lenovo Laptop SSD Upgradation Cost
18 Jul 2023
-

Lenovo Laptop Camera Replacement Cost
18 Jul 2023
-
-

Lenovo Laptop Battery Replacement Cost
13 Jul 2023
-

Lenovo Laptop Screen Replacement Cost
12 Jul 2023
-

Lenovo Laptop Keyboard Replacement Cost
12 Jul 2023
-

-
How to Fix Camera Issue in Lenovo Laptop
07 Jul 2023
-

How to Format Lenovo Laptop with USB
06 Jul 2023
-
How to Increase Battery Life on a Lenovo Laptop
21 Jun 2023
-

How to Fix White Screen on Lenovo Laptop
20 Jun 2023
-

Lenovo Laptop Motherboard Replacement Cost
19 Jun 2023
-

How do I stop my Lenovo laptop from overheating?
16 Jun 2023
-
-

-

-

-

-
-

-
-
-

-

-

-

-
-
-

-

What is Cost of Lenovo Laptop in India?
22 Sep 2022
-
Lenovo Laptop Problems Black Screen
21 Sep 2022
Looking For A Fast & Reliable Laptop Repair Service
We have professional technicians, fast turnaround times and affordable rates. Book Your Repair Job Today!
We specialize in all types of laptop services and provide reliable and quality door step service to our clients